

Everything I made for my timeless, east coast wedding
Yeah, I was my own wedding planner. I probably wouldn’t advise that, but I knew my creative background and history working in production and photographing weddings would help me out (and it worked!)
I started with a mood board, then began selecting vendors that aligned with my vision.
My keywords: elegant, whimsical, fun, intentional, timeless.
We had classic black tuxedos and bridesmaid dresses, garden inspired white florals with whimsical, structural shapes, pops of green and blue from the venue. Everything came together exactly as I had planned, despite not hiring a planner. I will say that forgoing a partial wedding planner is one of my slight regrets, because some of my decor was not set up exactly how I wanted and I wish there was “another me” to do set up, but none of it was enough for me to think about twice during the actual wedding.
Most of the decor was DIY, but that’s kind of my specialty, so I want to share some of my favorite projects that I worked on.

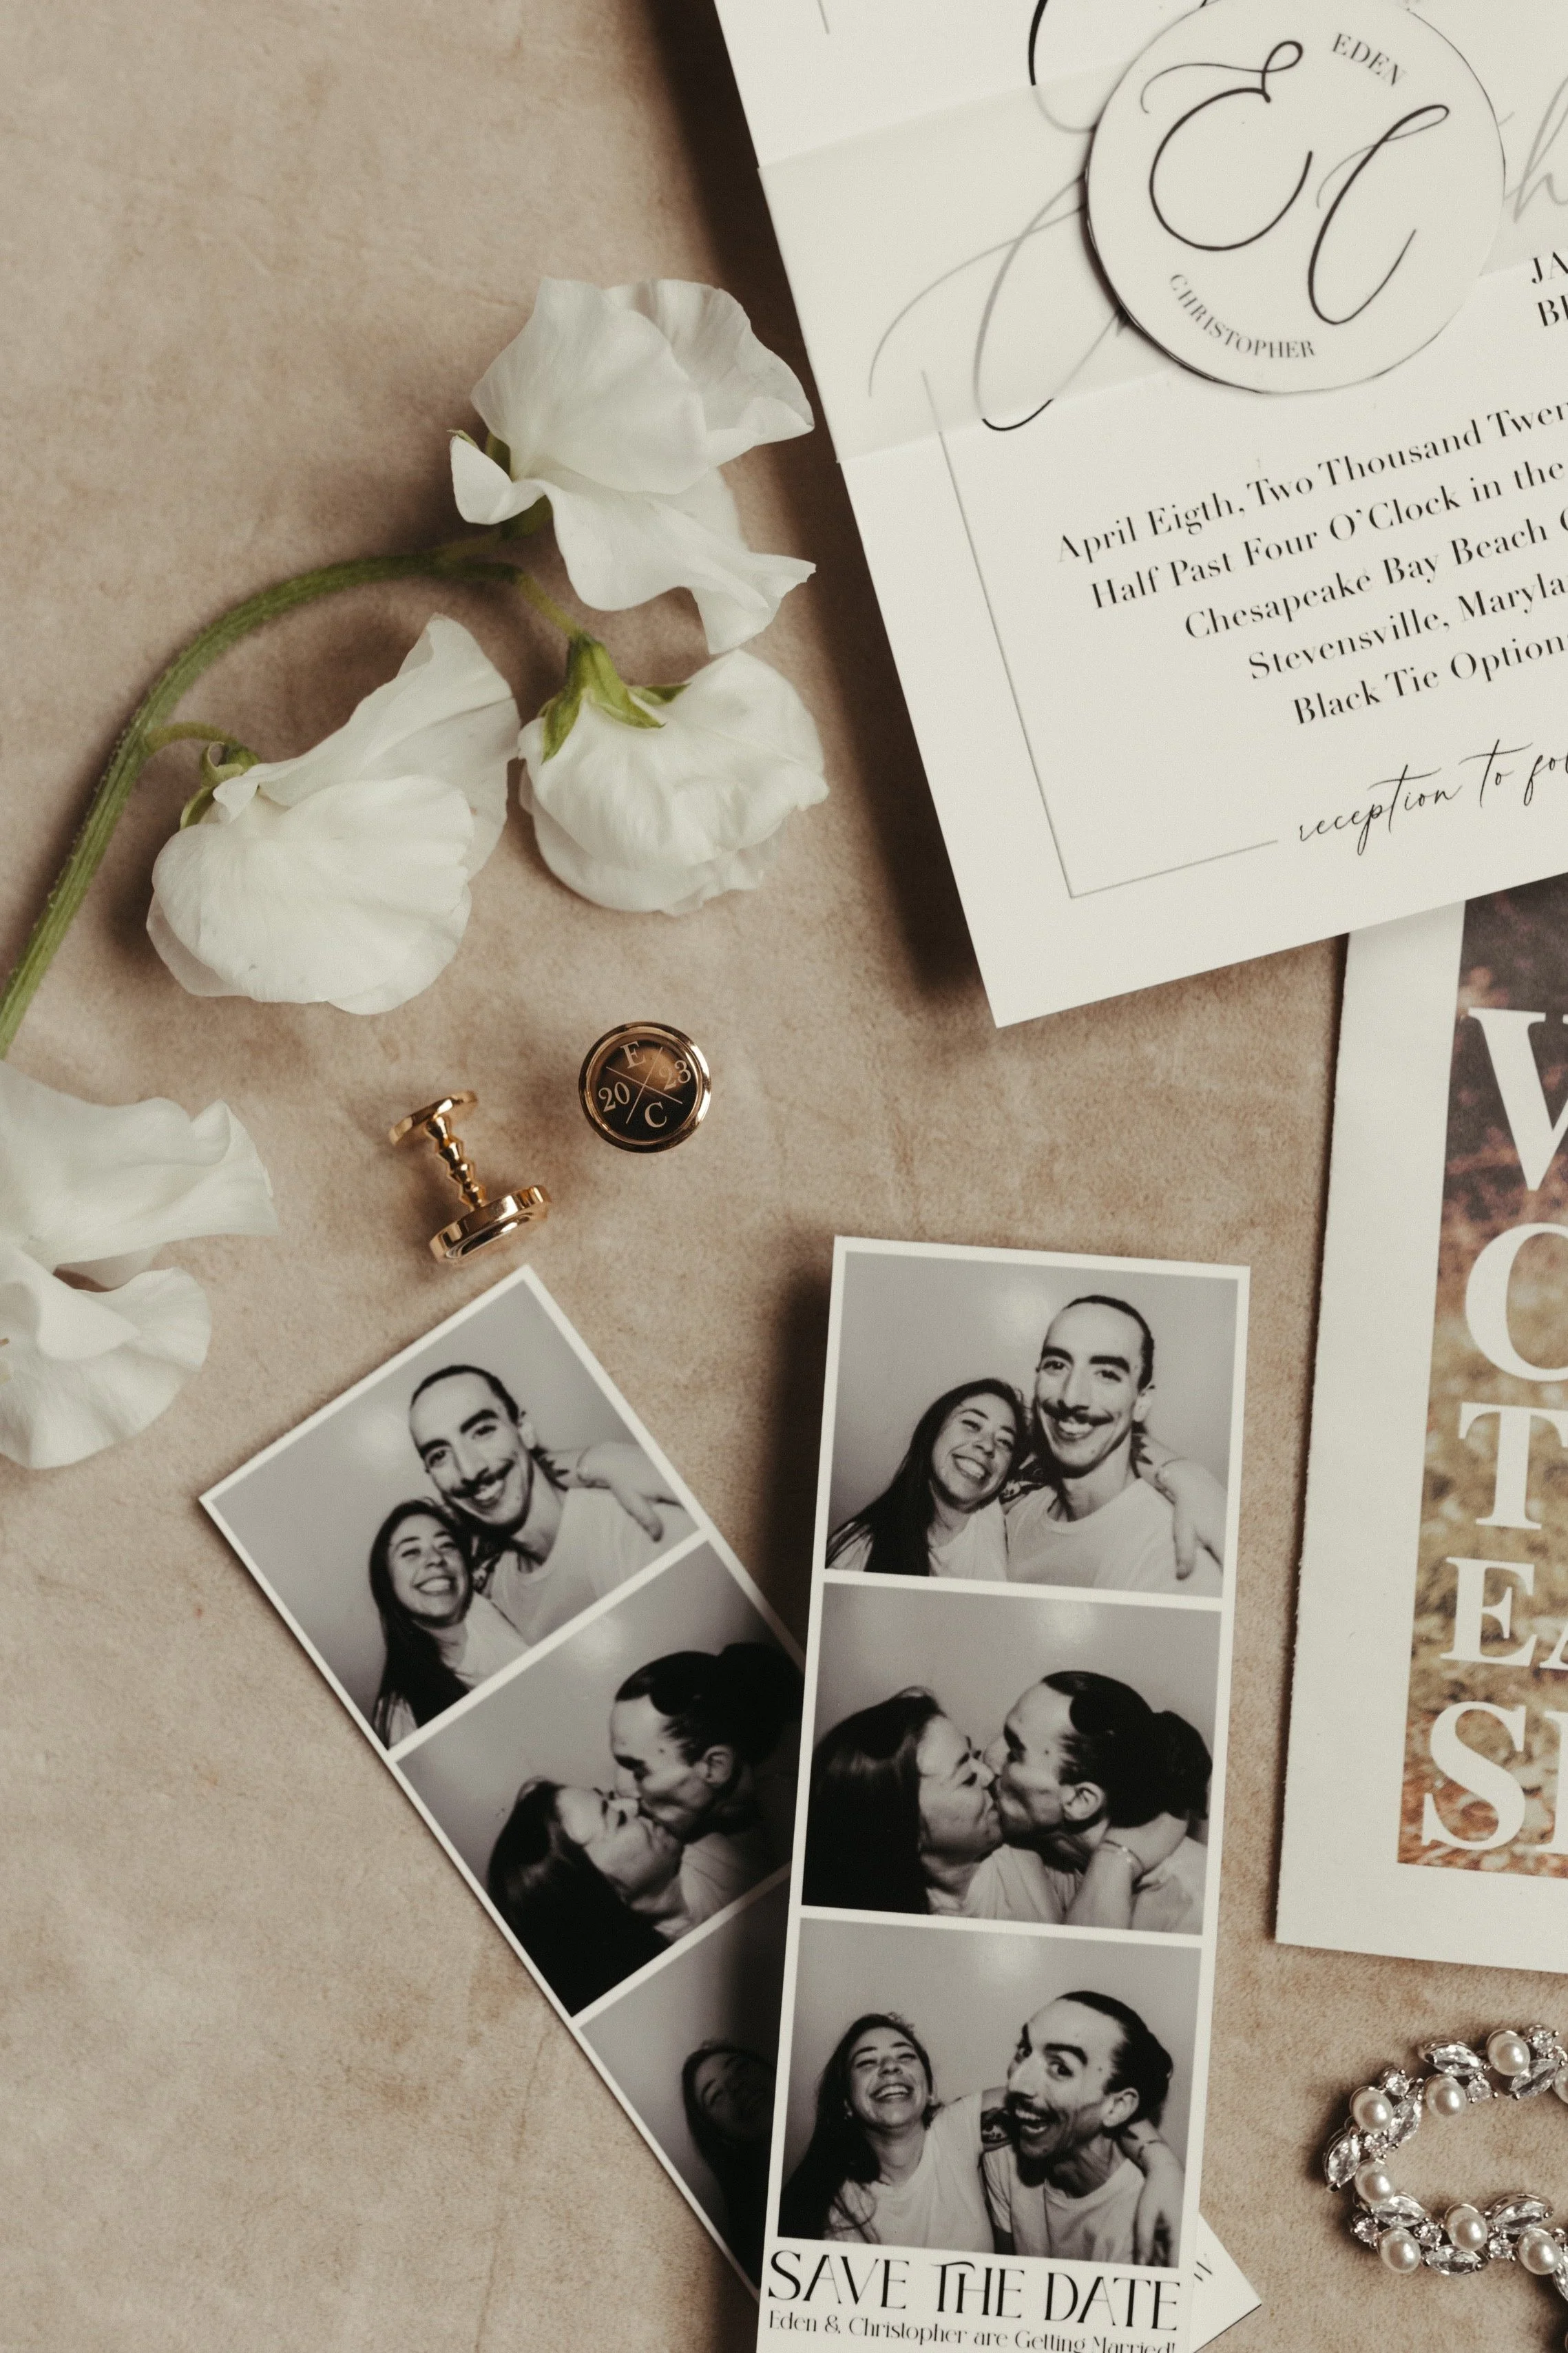

Save the Dates & Wedding Invitations
The first piece of mail your guests receive about your wedding should set the tone of the event they’re about to attend! Our wedding was black tie optional because I love a formal moment but wanted to keep it comfortable for our guests who might not prefer to dress all the way up. I chose a more playful layout for our save the dates and an elegant design for the invitations — keeping both in the same color palette (black & white) and establishing my fonts and writing style.
I designed my invitations and reply cards on Illustrator and had them printed at a local print shop. I would have loved to get fully custom stationary with all the bits and bobs, but I chose to keep the invites as cost effective as possible. To make them look a little more special, I cut vellum belly bands and made circle magnets with our initials. The magnet was strong enough to hold both the invite and details card on the fridge, but light enough to not require additional postage!
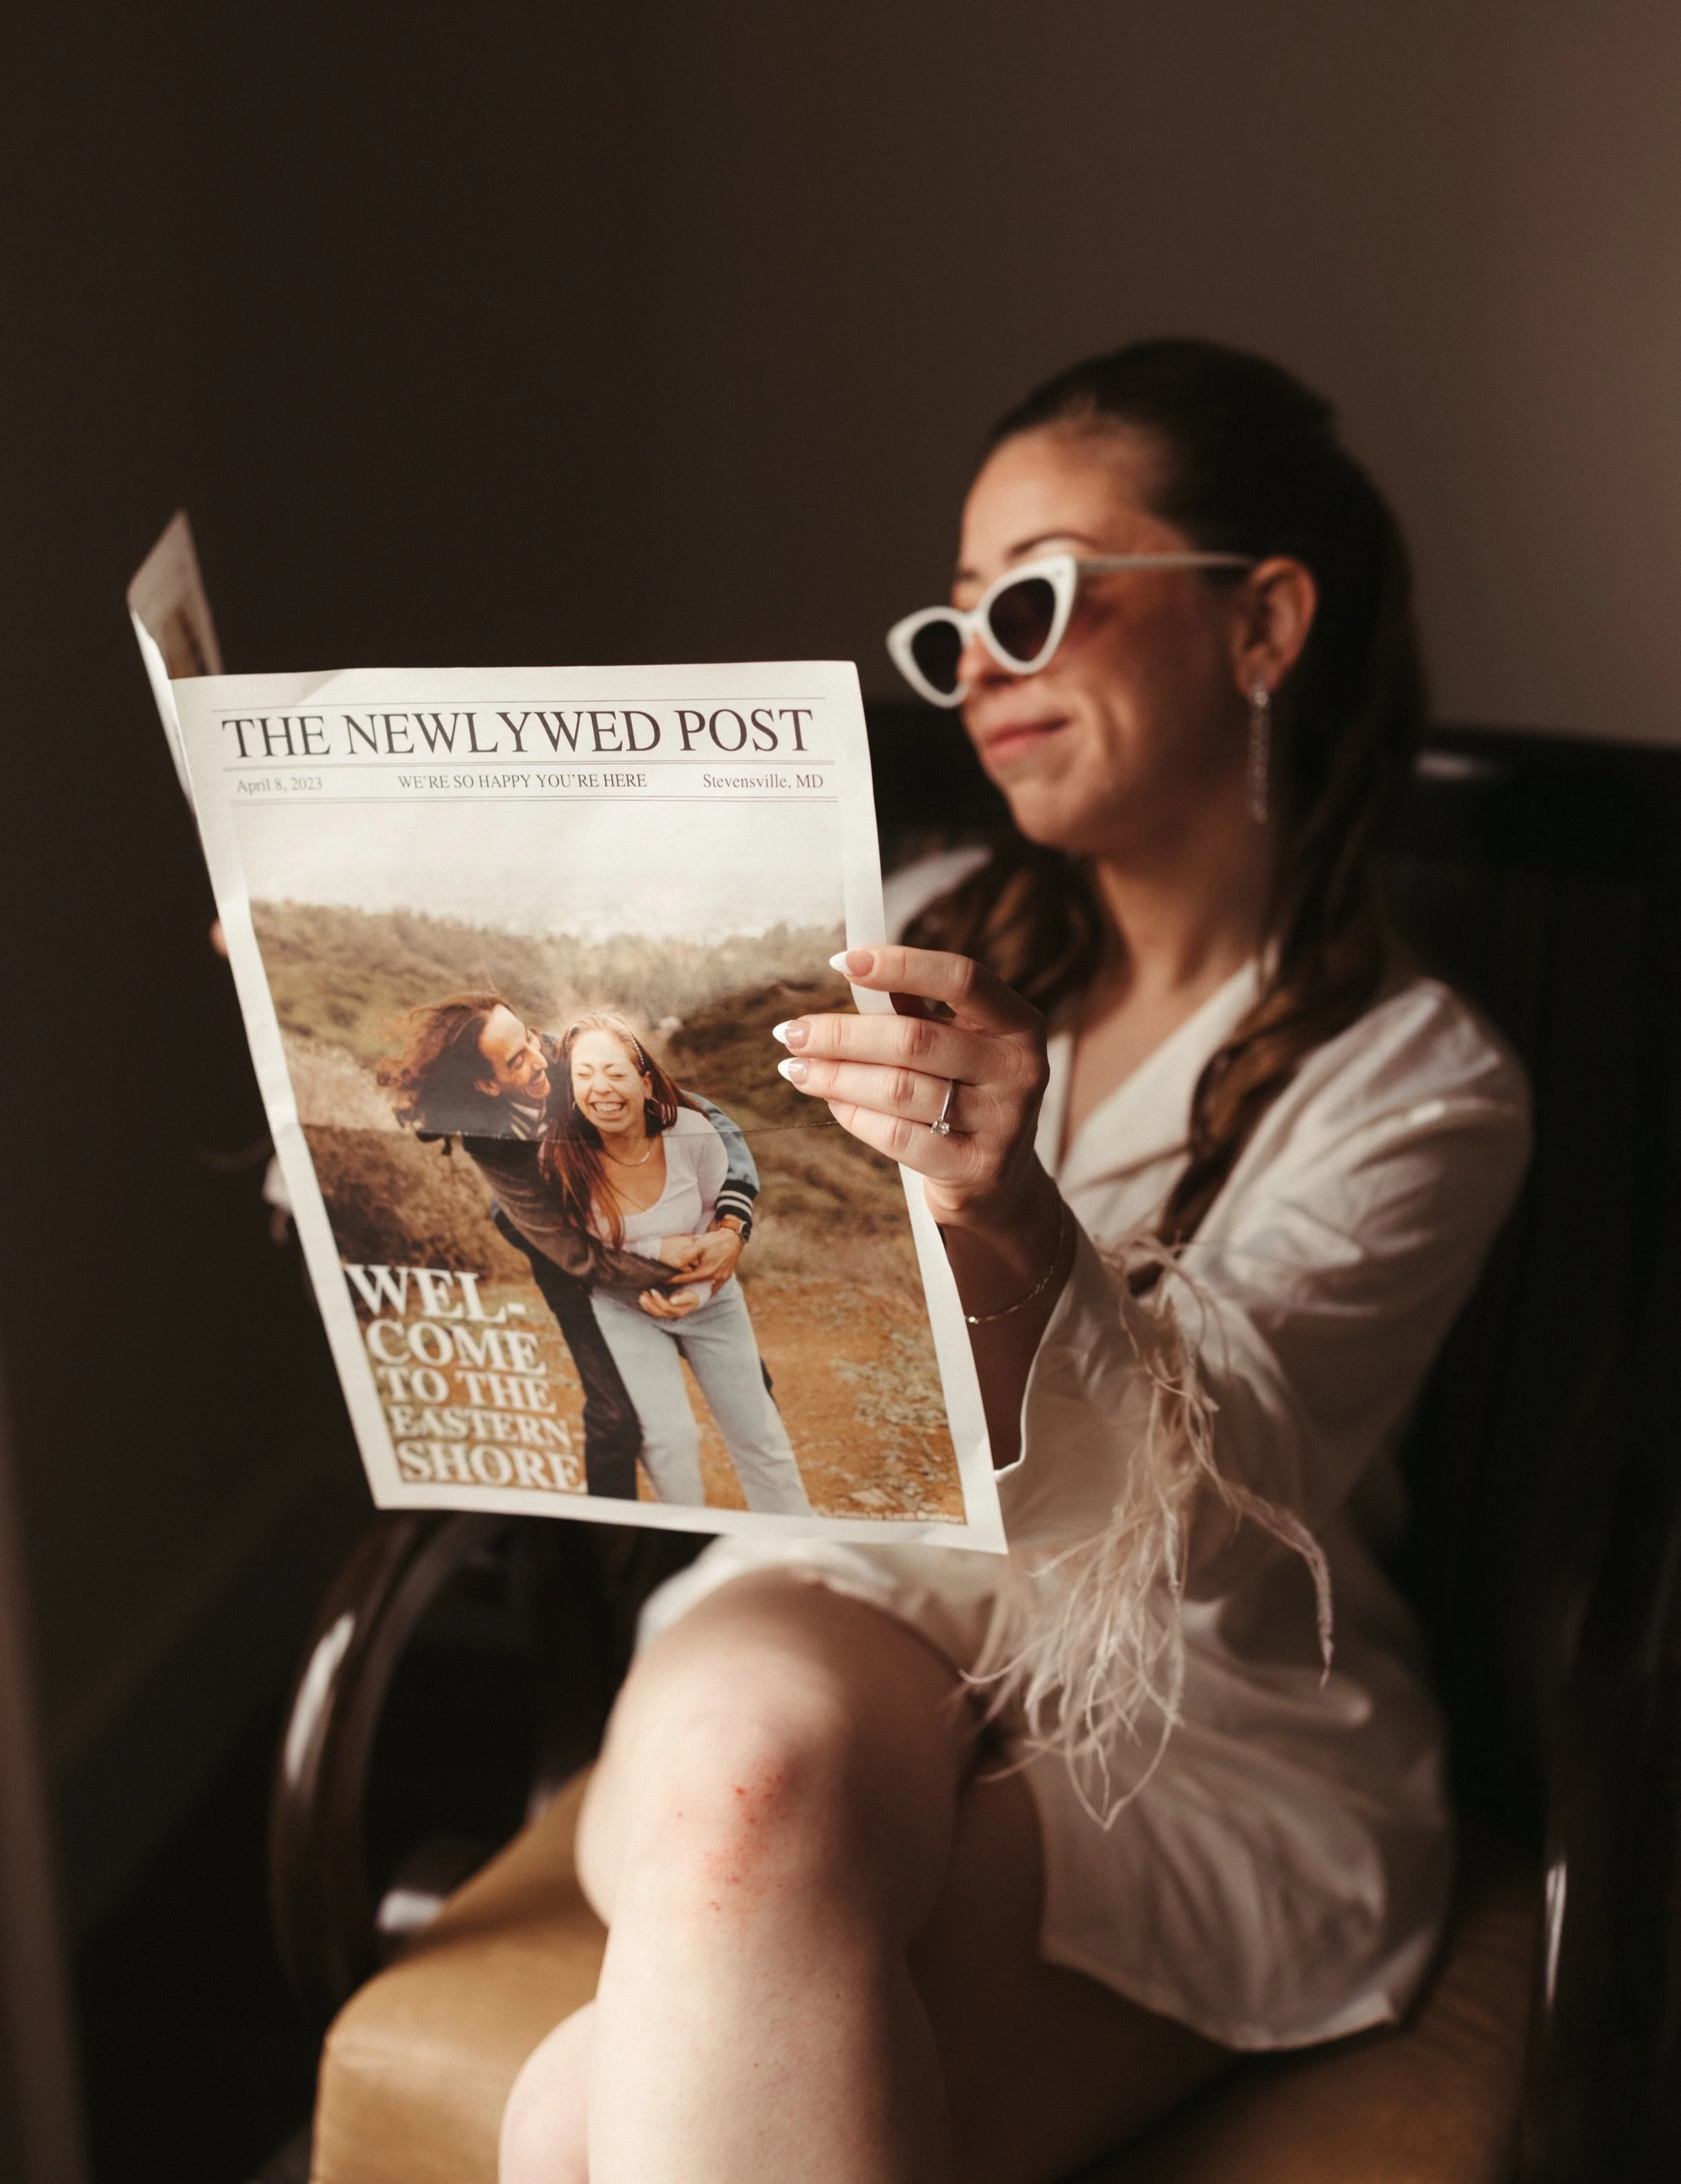
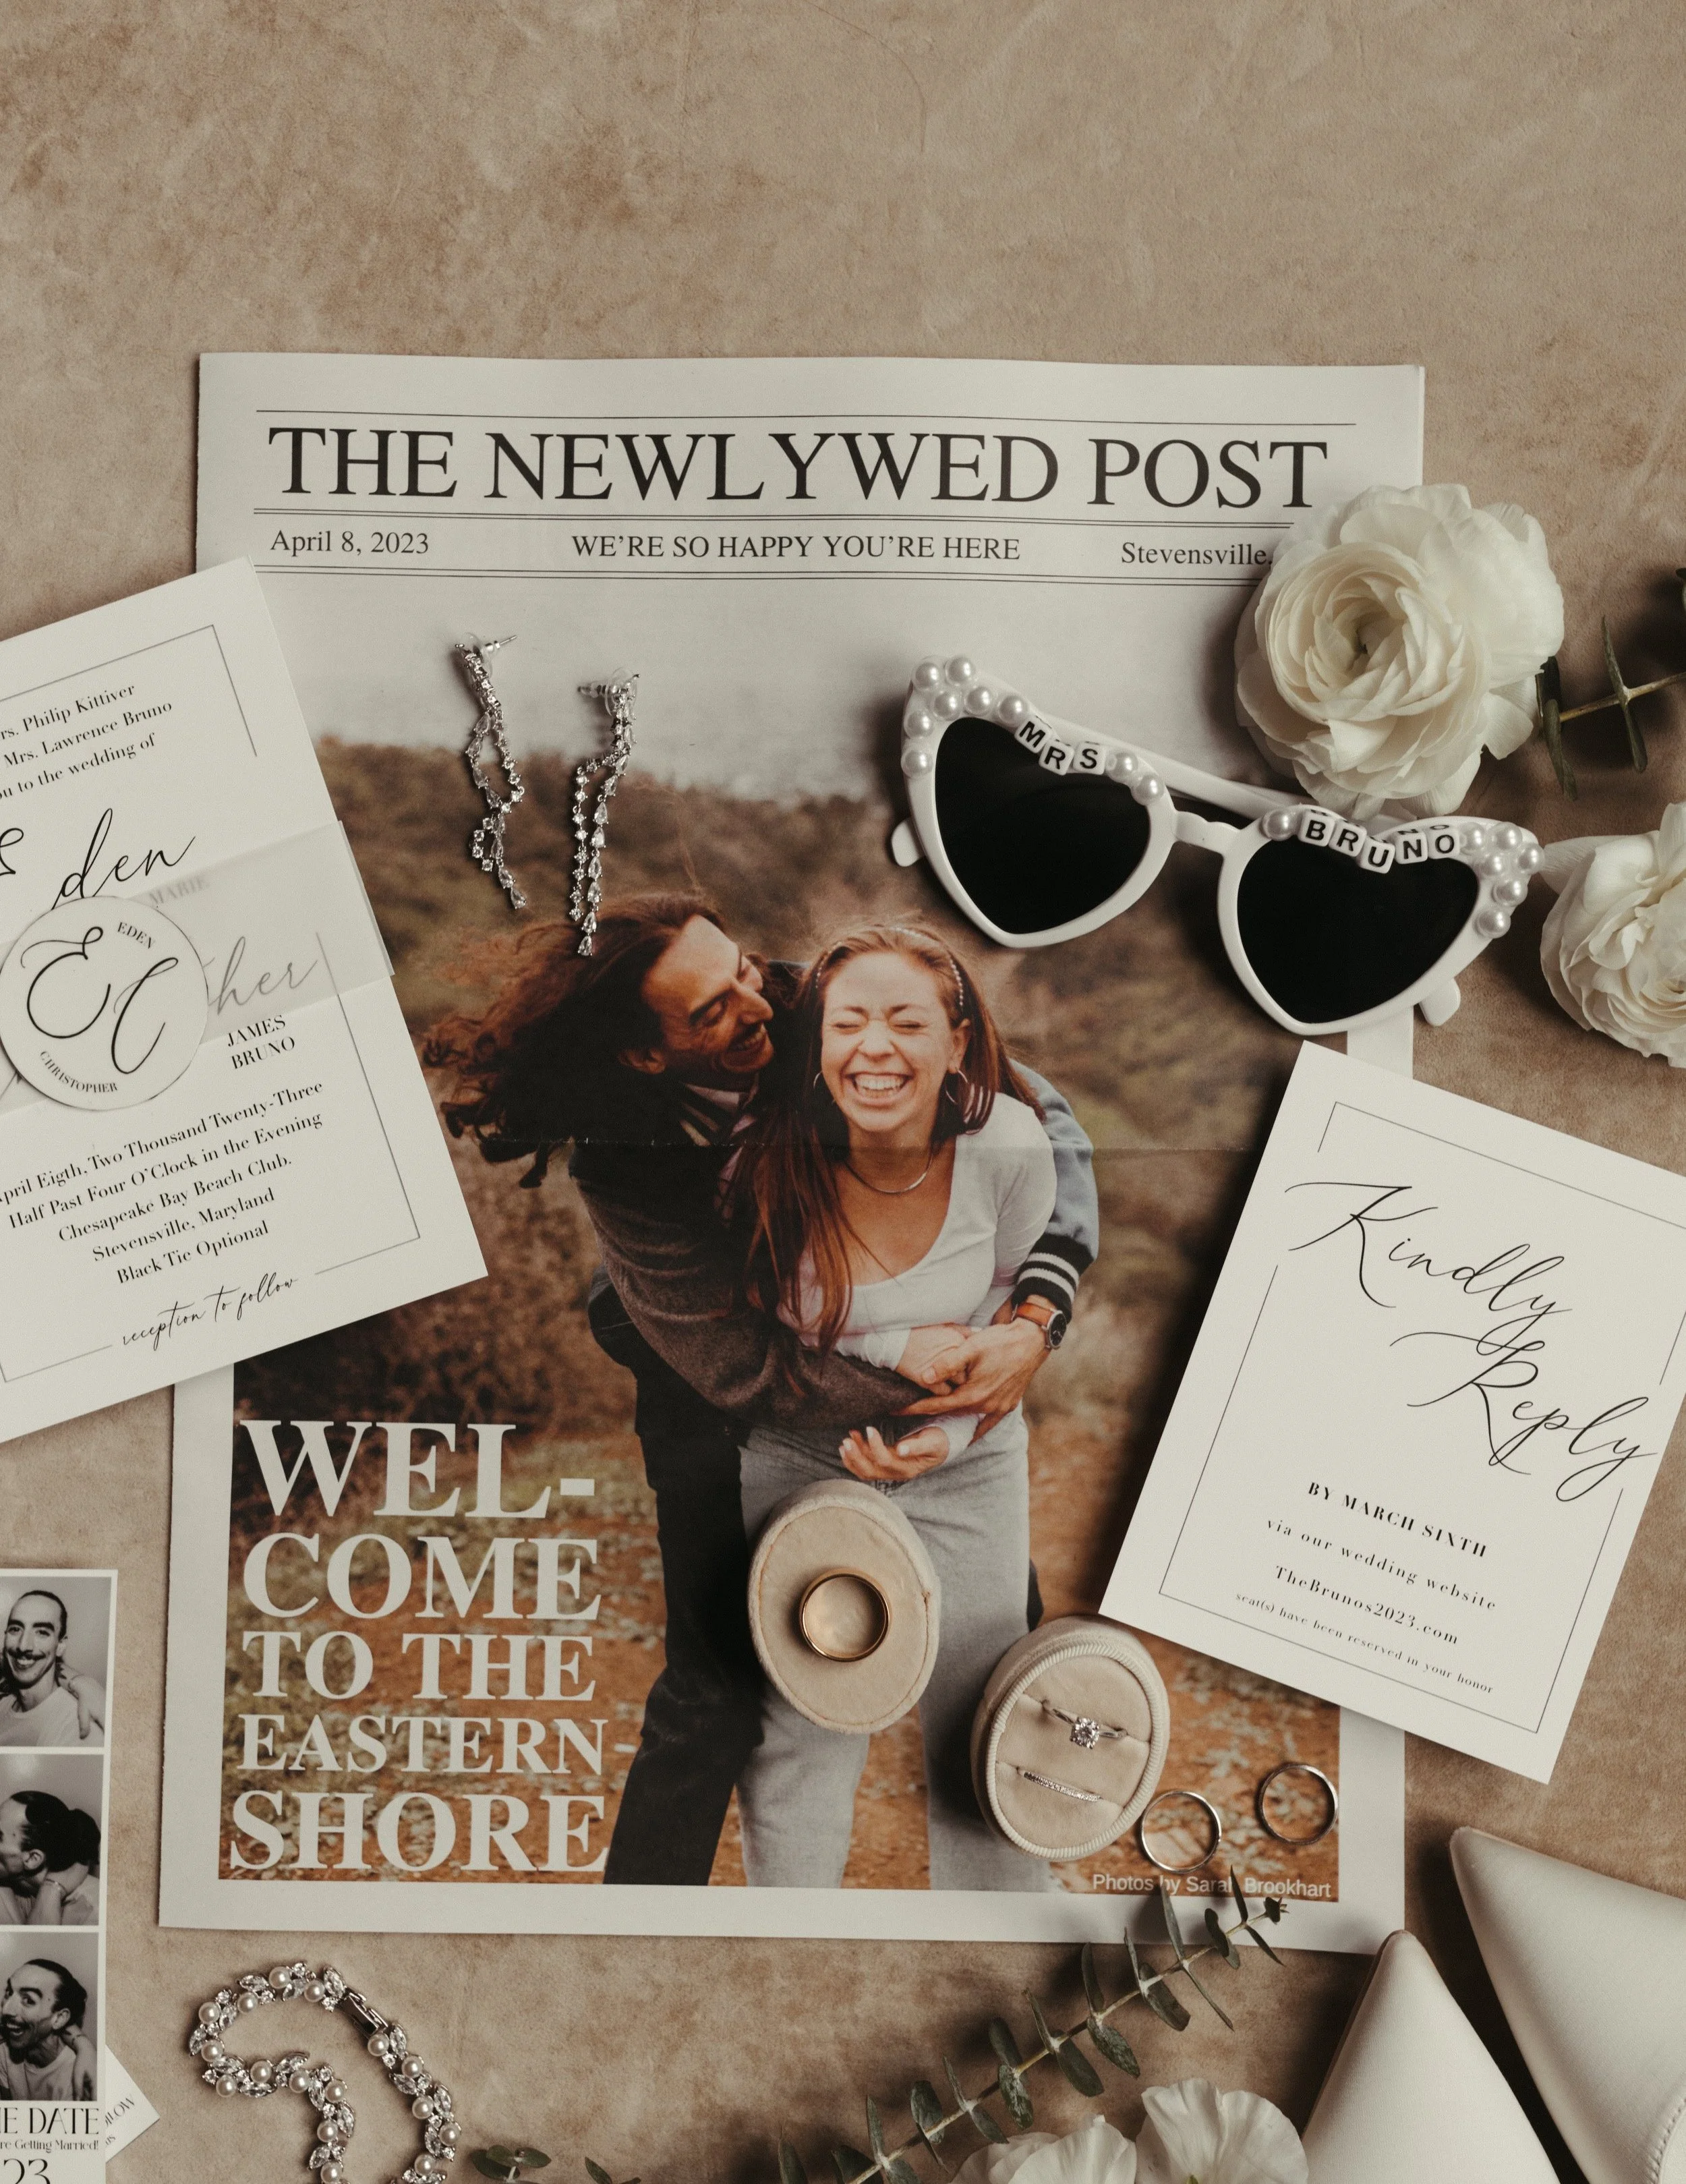


The Newlywed Post
The newspaper ended up being one of my favorite projects of the entire event, and it wasn’t really made for the wedding. We had a lot of guests coming in from out of town, so I designed this as an insert for our welcome bags to share fun facts and things to do around town. In true “Eden” fashion, this quick project became a time-intensive custom layout, printed on real newsprint with photos, information a crossword puzzle.
This ended up being such a hit amongst everyone. Even my hairstylist was blown away! At the last minute, I decided to display the remaining newspapers during our reception. I didn’t get many pictures, but at one point at the end of the night, I stepped away to go to the bridal suite and saw 3 of my guests, sitting on a bench, reading my little newspaper. It was such a cute moment for me.
Even the process of creating this newspaper was so much fun for me. You can read more about that and tips to make your own in this post.
The white, heart-shaped sunglasses were a quick afternoon project with some things I already had at home. The pearls were half spheres with a flat back so they were easy to hot glue onto my frames. I wore these at my bridal shower and the reception.


Cocktail Hour
Years ago before I was even engaged, I saw a post on Reddit from a girl making her own coloring book for her wedding and I never stopped thinking about it! My dads side of the family is also notorious for having Barbie coloring books during big events, so this idea just seemed so fitting. Most of the pages were hand drawn in Procreate on my Ipad, then I added a few Barbie wedding coloring pages and a custom word search on the back. Honestly, printing the pages side by side and back to back in the right orientation to make the book was the most difficult part of this process for me. Once I got them all assembled, I bound them with a white satin ribbon. Then I took it up a notch and made crayon bundles, wrapped in the same white satin ribbon and a little pearl bead (leftover from my sunglasses project.) So cute.
I didn’t know if I would even need as many as I made since I only had a handful of kids coming, but these coloring books were fun for all ages.
The cocktail tables each had trifold display card with appetizer menus, fun facts, and a QR code linking to a shared Dropbox folder, along with photo and video prompts. I had my guests share all their photos and videos from the night with us and other guests via the shared folder!


Dinner Tables
I had a lot of fun designing the tables for our reception too! Since we had 16 tables at our wedding, we saved some money by not doing any floral centerpieces. I chose to use light mauve pillar candles from Yummi Candles on the tables instead.
I still wanted the tables to feel full without flowers, so I designed menus, table numbers and place cards. For the table numbers, I did a simple line drawing of some buildings/ locations that are integral to our relationship like where we first met, our first date, favorite vacations and date spots, etc. These illustrations turned out so cute, I ended up including them in the welcome newspaper as a visual timeline of our relationship.
I designed the menus to match our invitation and had them printed at FedEx. I then used my Cricut to make each name card on black cardstock paper. I love that using the Cricut to write made each place card feel handwritten! The week of the wedding, I assembled each menu and place card with a small sprig of babies breath and a mini acrylic clip.
I also displayed the photo sharing codes on the table with more photo and video prompts.


The love that came before us
We had framed photos of as many of our relatives wedding photos as we were able to acquire, with names, locations and dates of their weddings! We lined these frames along the credenzas in the hallway of our venue so our guests could see them as they walked in and waited if they arrived early. I loved going thorough these photos in preparation and seeing all the wonderful people we’ve come from.
All photos by Sarah Brookhart Photography